Friday 10 November 2017

Omdurman using Bloody Big Battles

We have been going through a bit of a Bloody Big Battles (BBB) Colonial phase playing El Teb, Adowa twice and now Omdurman. The Omdurman scenario can be downloaded from the BBB Yahoo Group

The scenario is an interesting take on Omdurman as it deals with the aftermath of the Mahdist assault. To quote the scenario

While the initial phase of the assault on the Anglo-Egyptian encampment was a disaster for the Mahdists, in order to gain a complete victory Kitchener needed to clear the way to Omdurman and Khartoum. To ensure a secure supply line, this meant defeating the Khalifa’s field army and securing the road from Omdurman to the north.
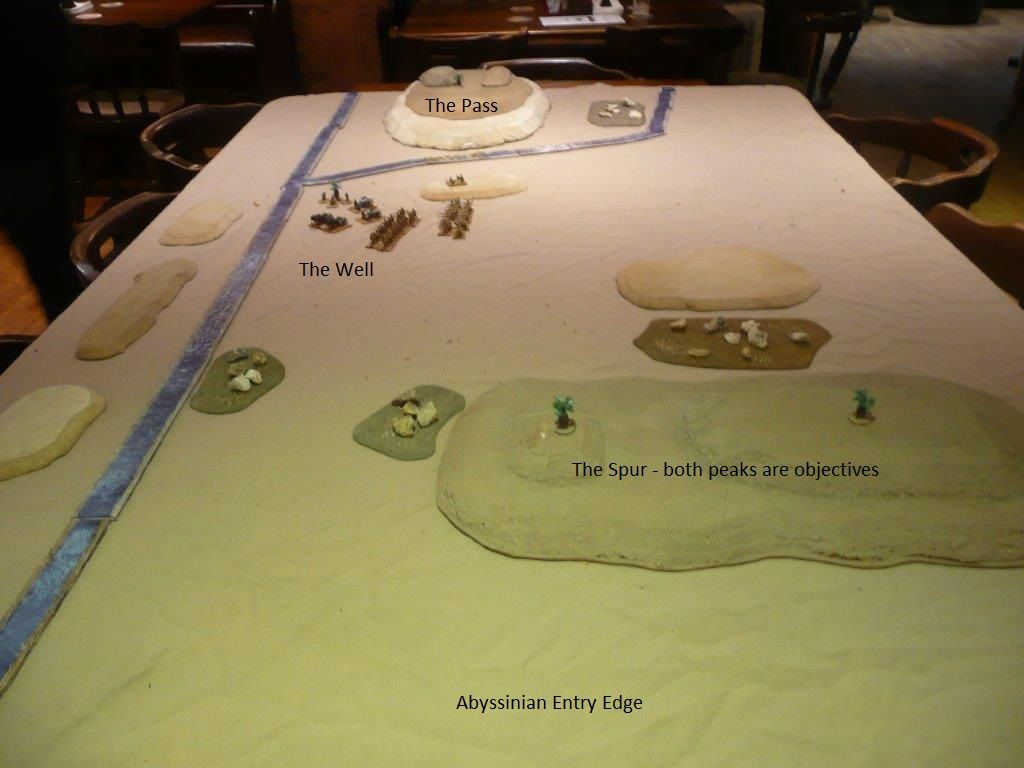
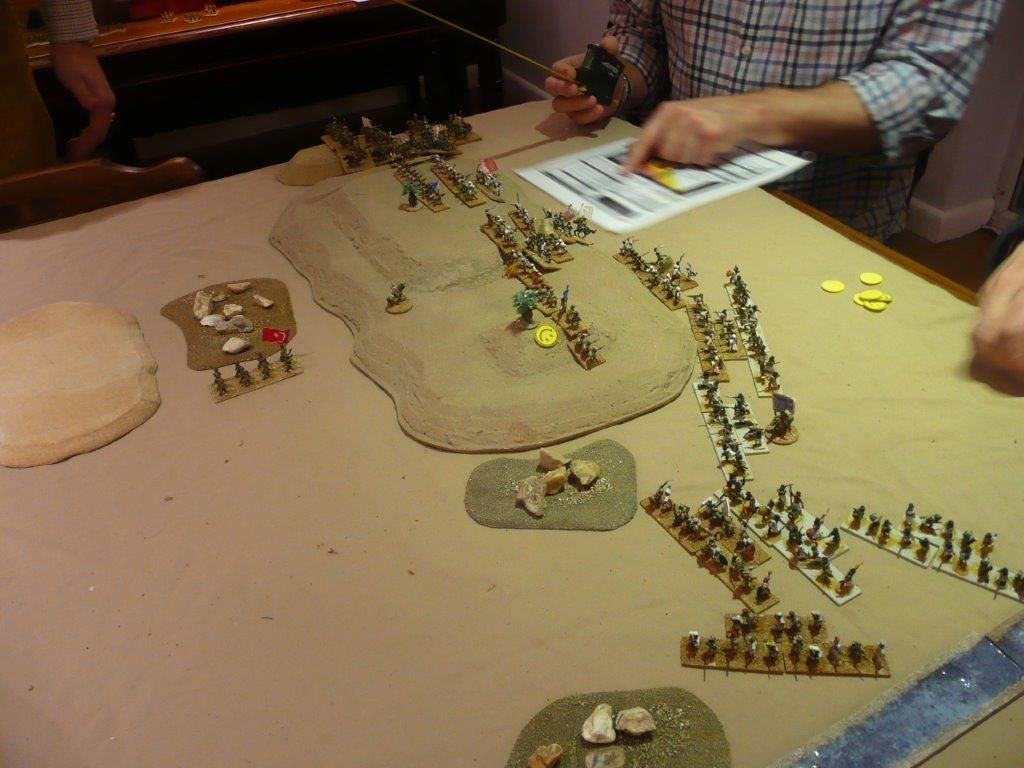
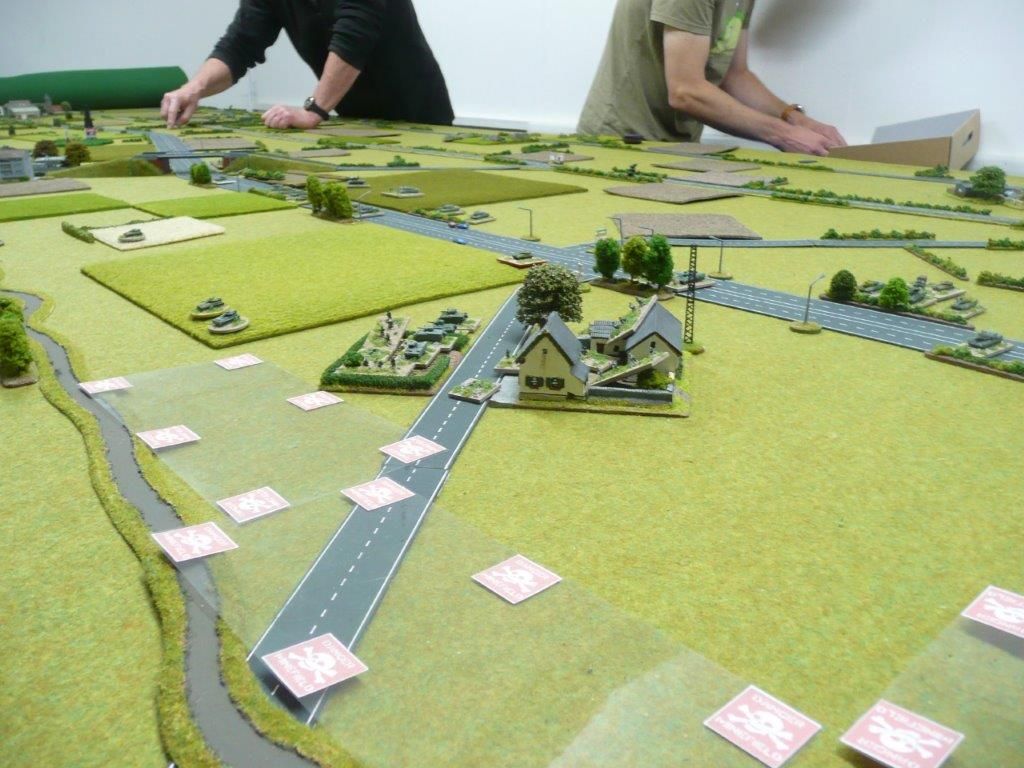
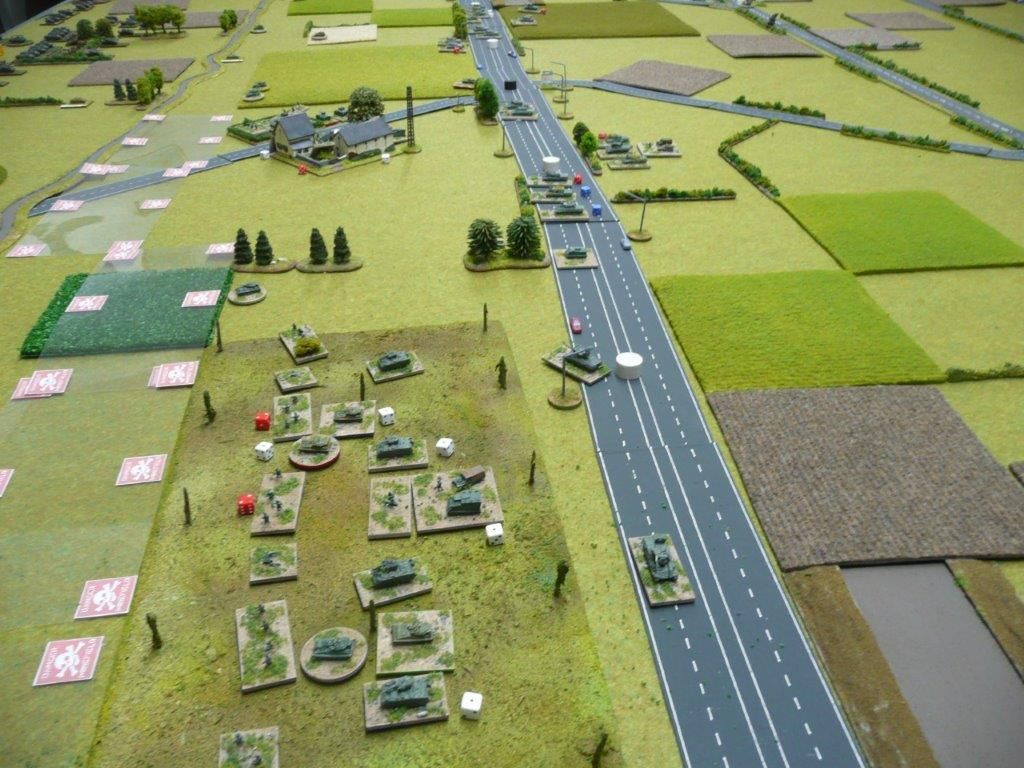
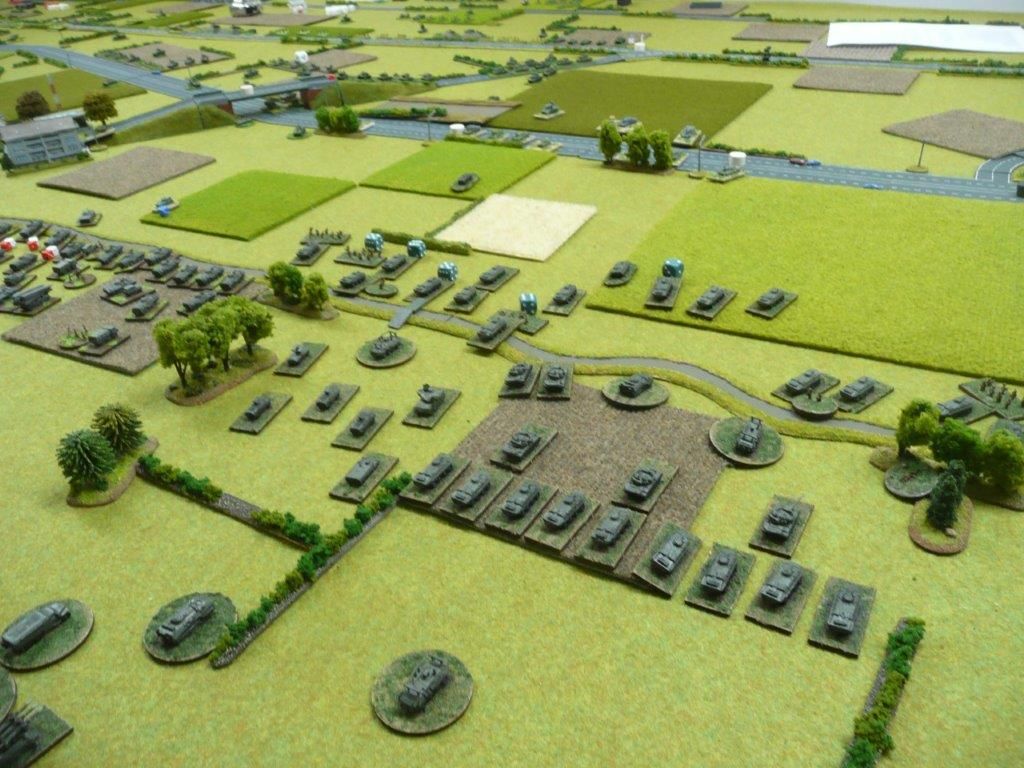
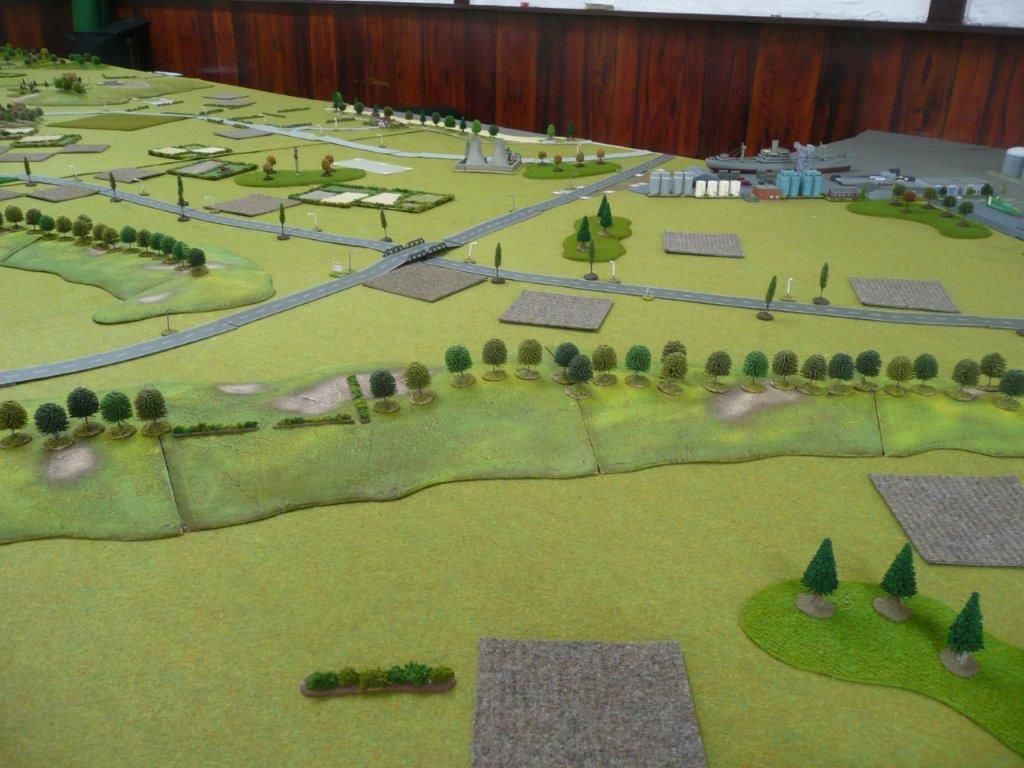
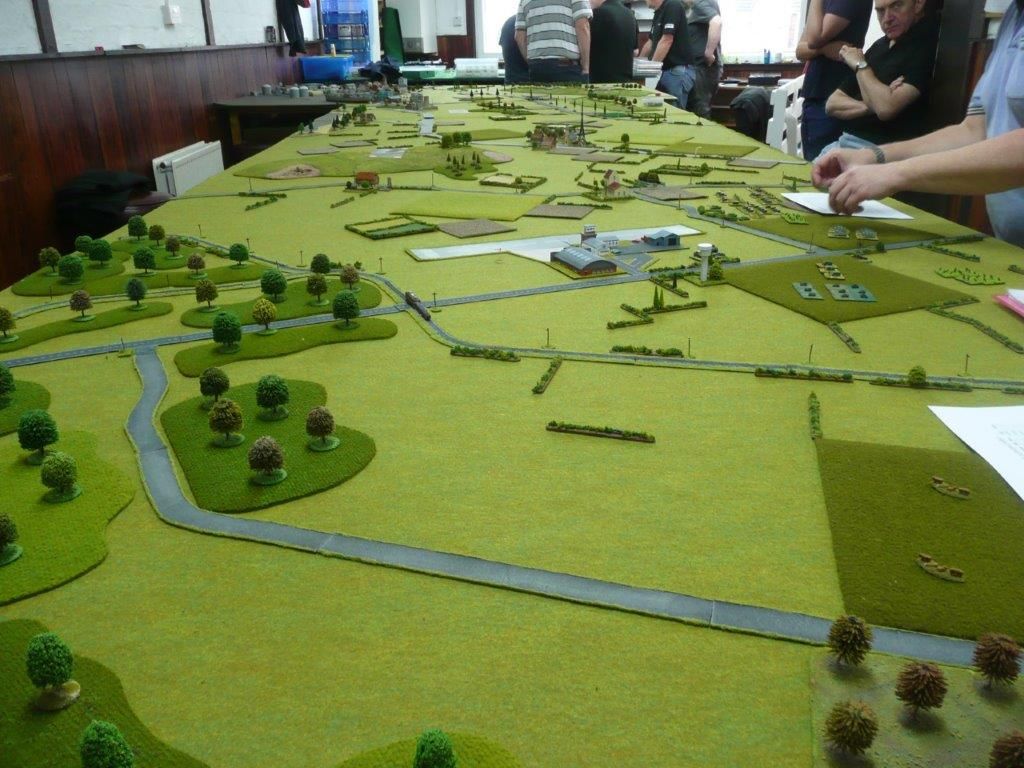
Looking  north - the objectives are circled in white

There are 5 objectives spread along the entire 6 foot length of the table which the Anglo-Egyptian force must capture in order to win. To draw the Mahdists must hold 1 objective. A Mahdist victory is achieved if they hold 2 objectives of which one must be within 14" of the Nile.
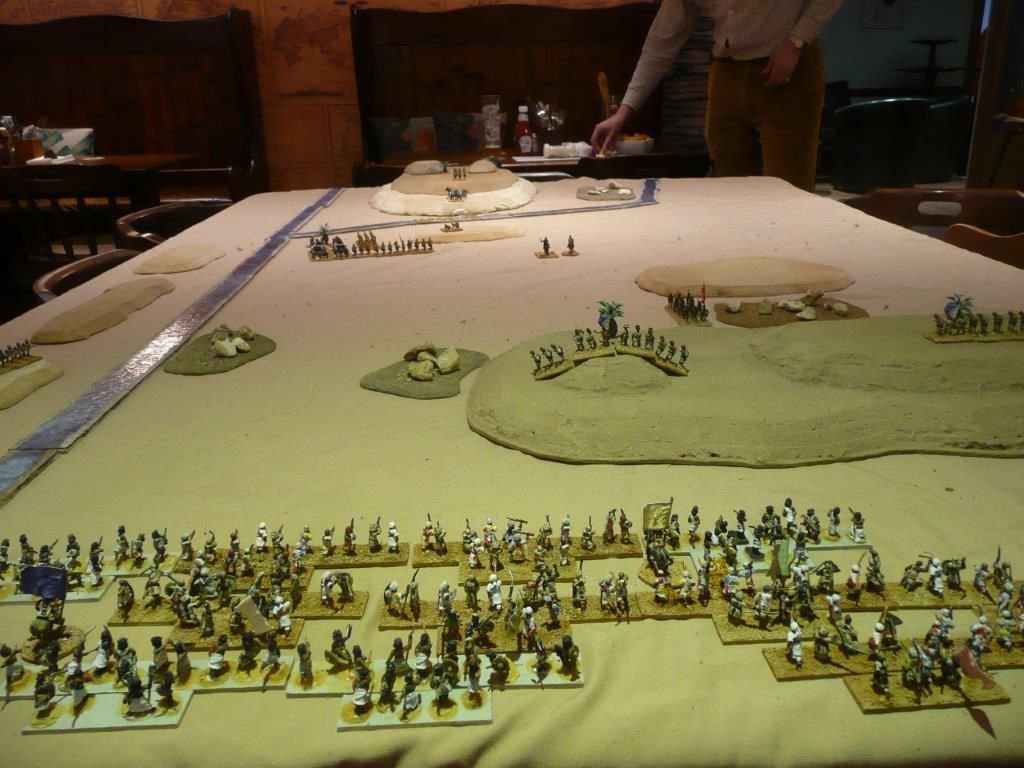
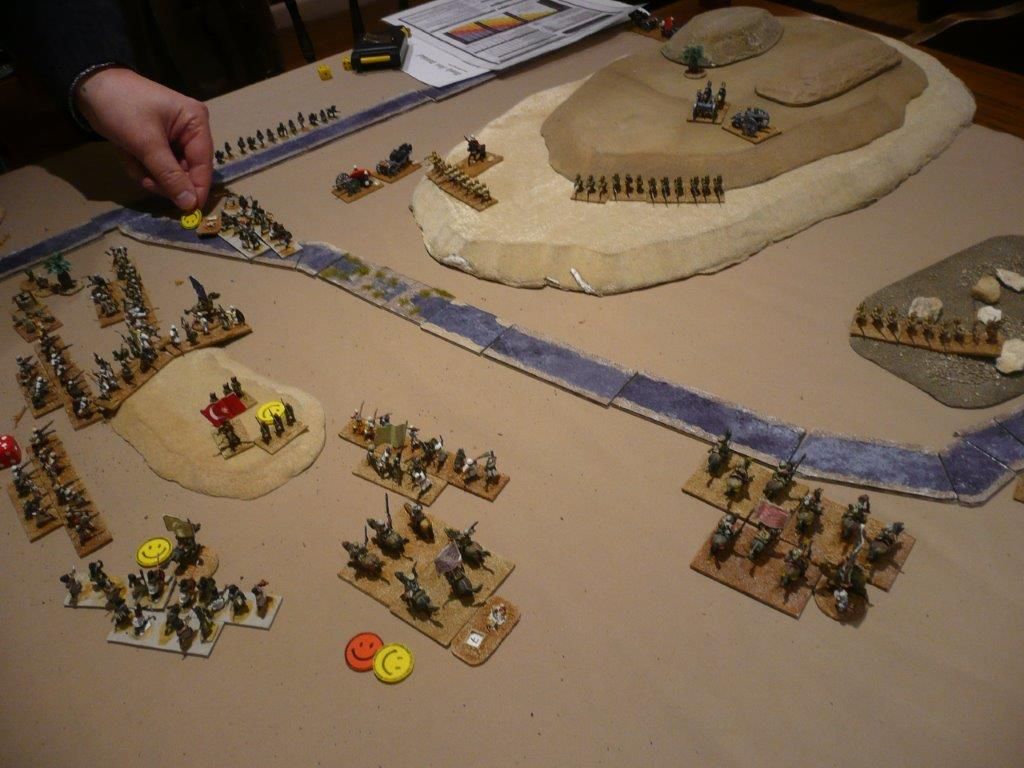
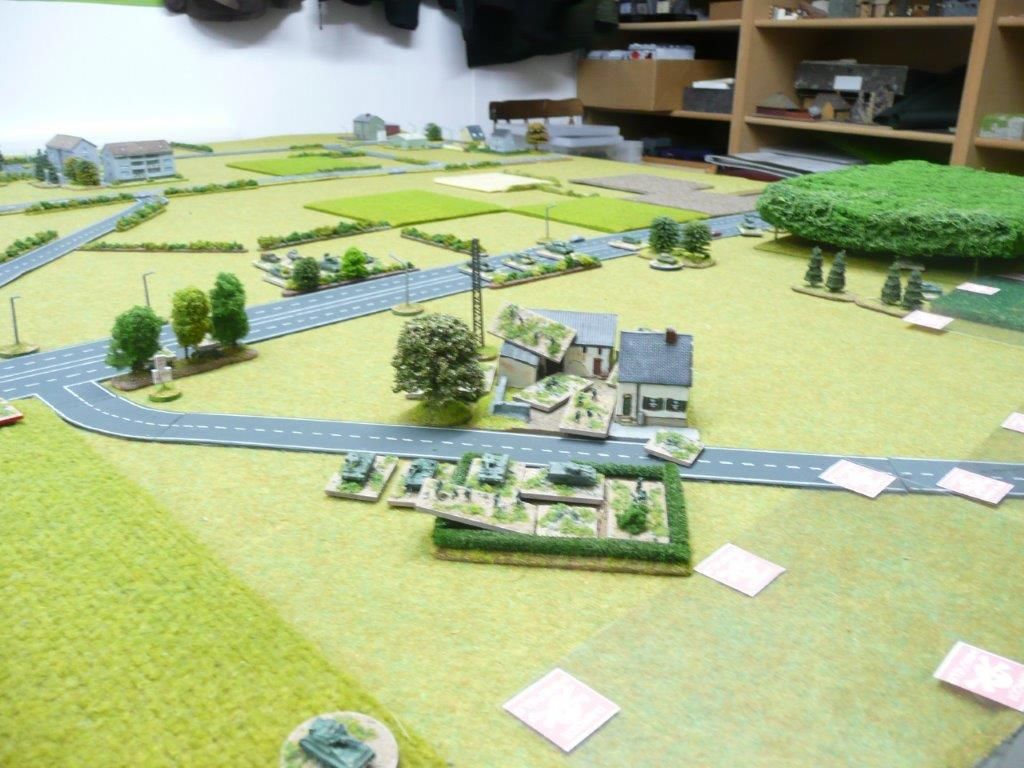
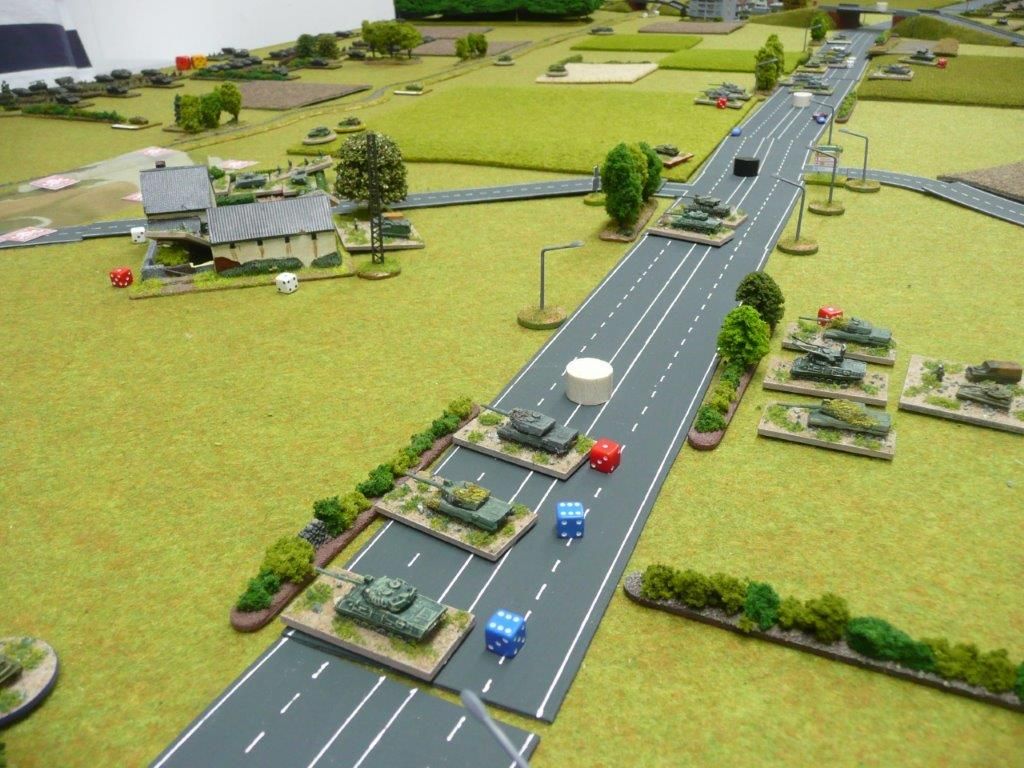
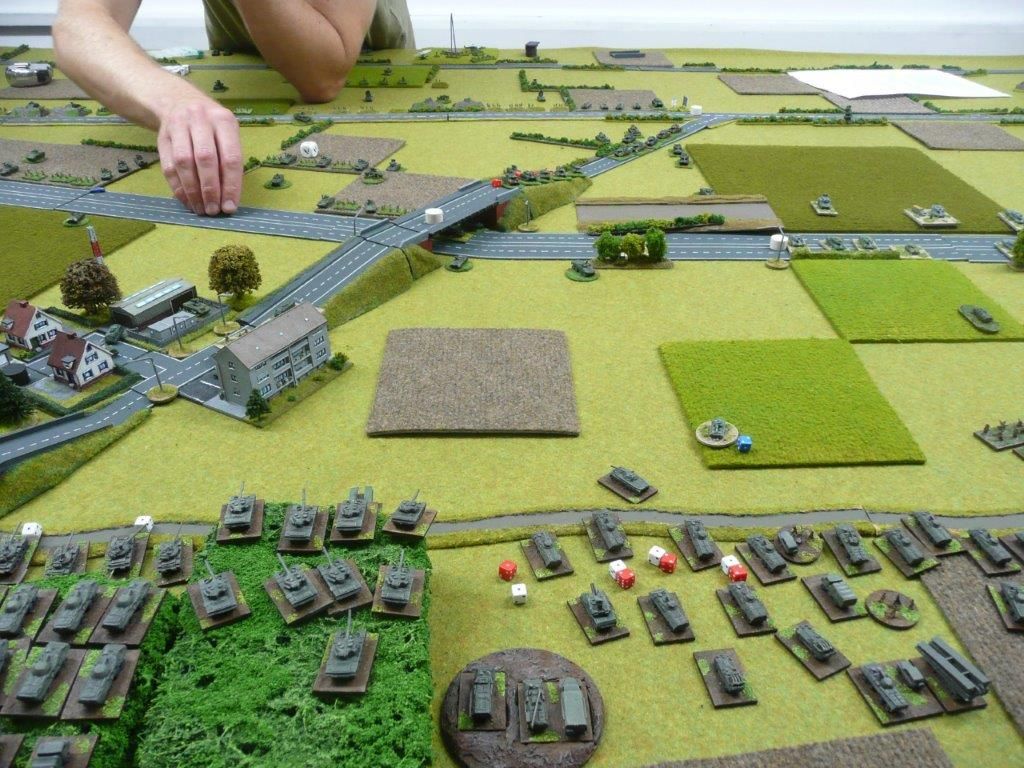
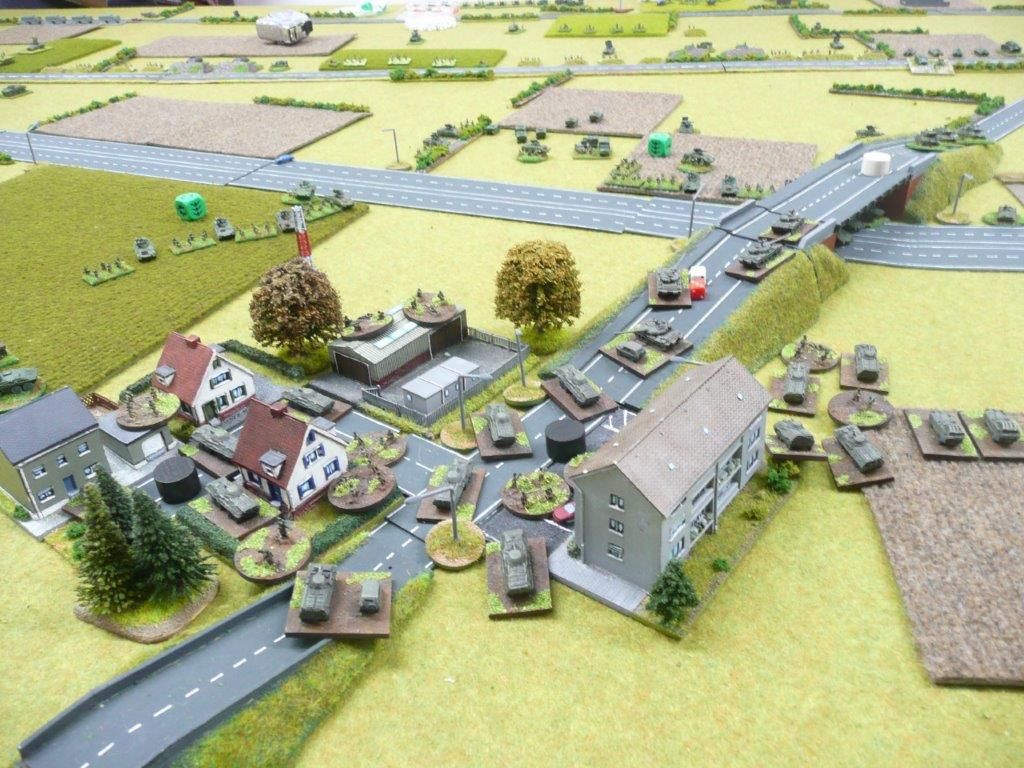
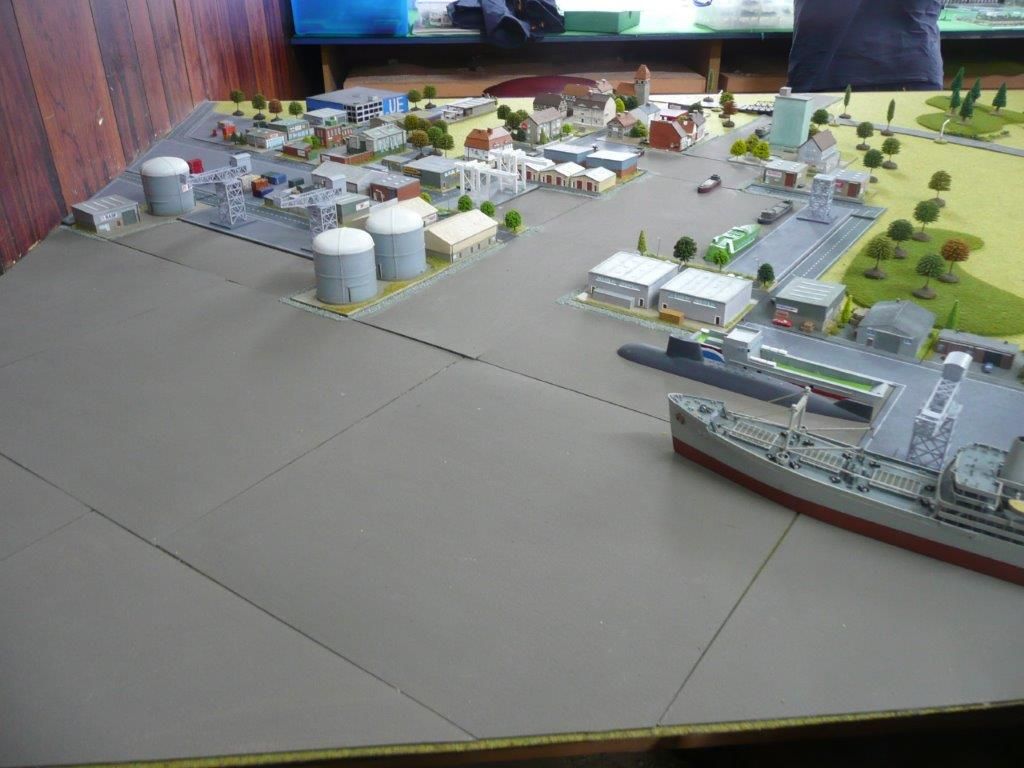
Start of the battle. The Anglo-Egyptians mainly start in El Egeiga. The Mahdists aim to capture the 2 southern objectives

Therefore the Anglo-Egyptian forces must go on the offensive immediately. That's a bit different from the usual standing behind the Zariba and mealie bags and shooting anything that comes within range.
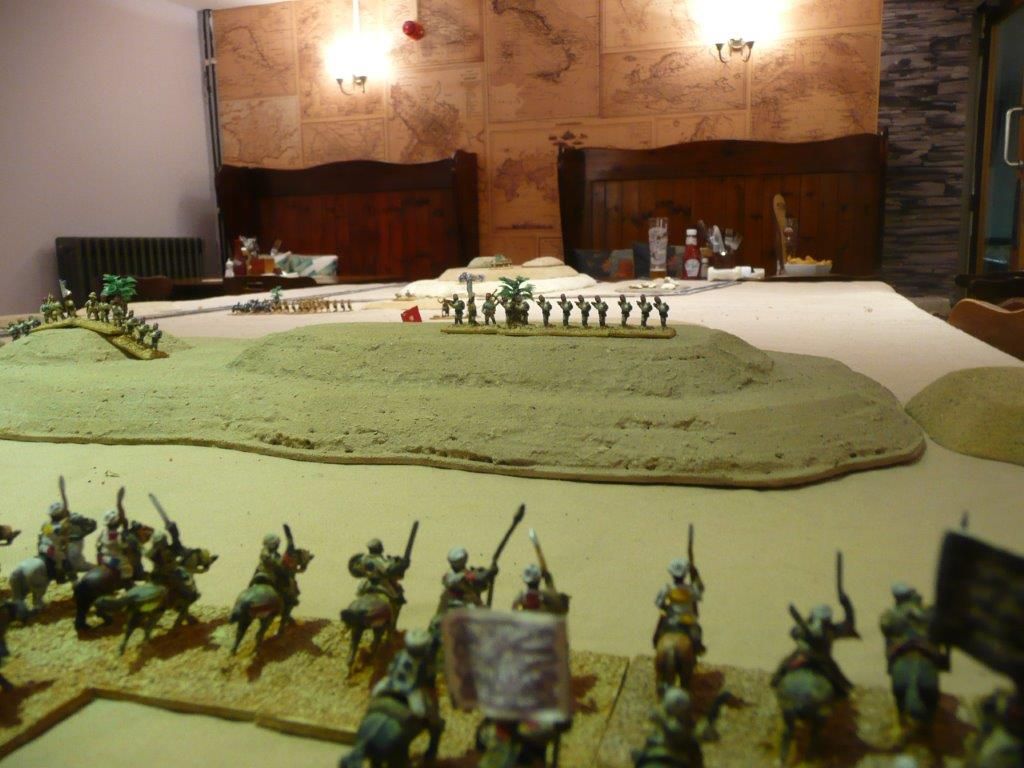
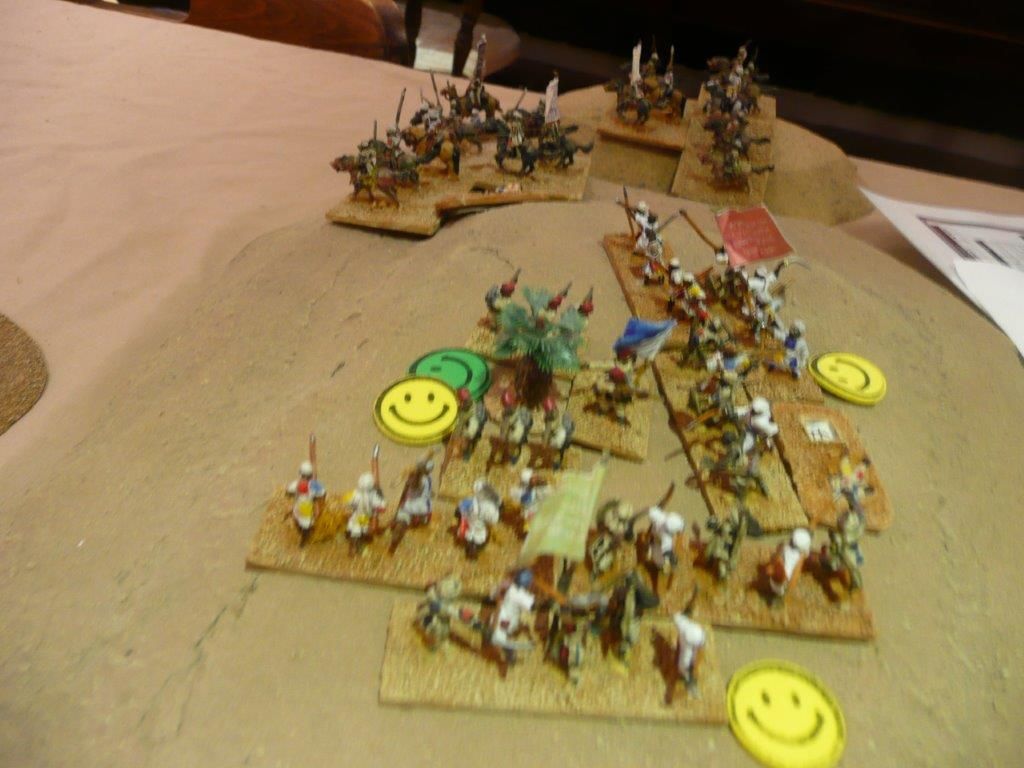
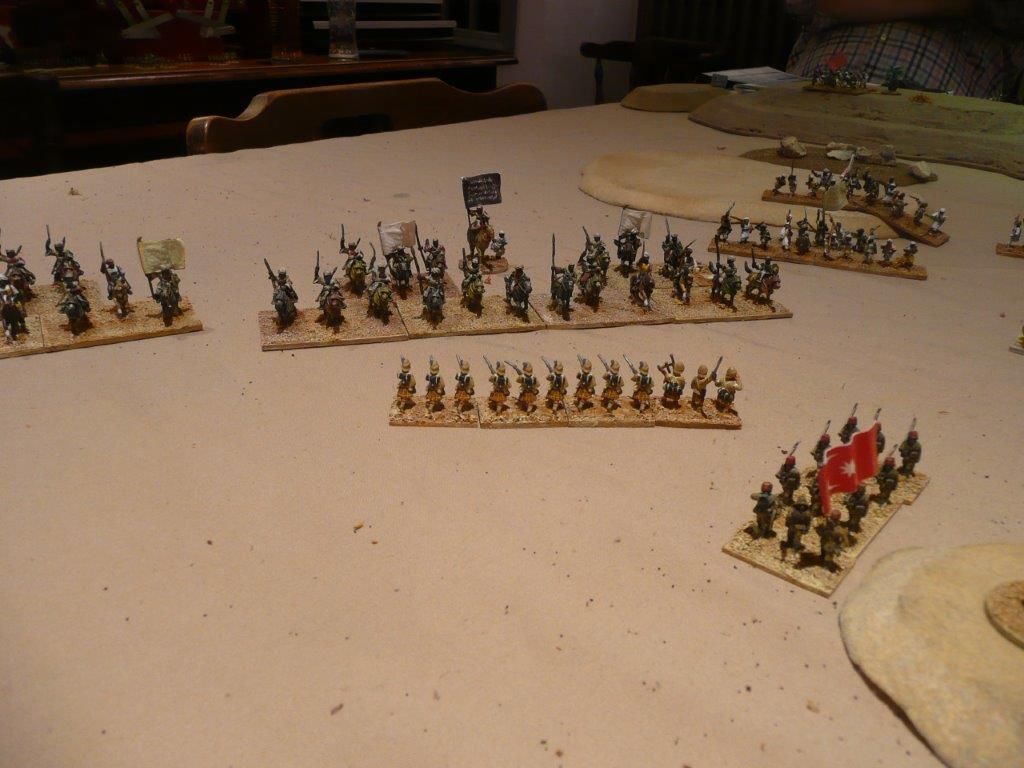
The main Mahdist force heads south to take the two objectives
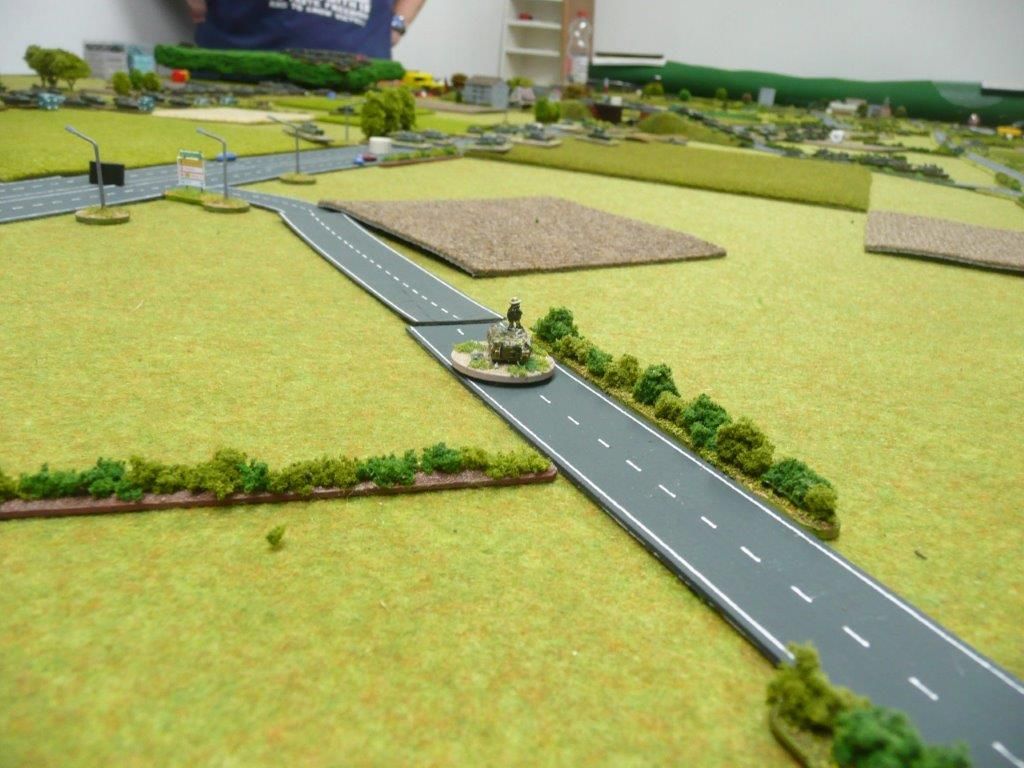
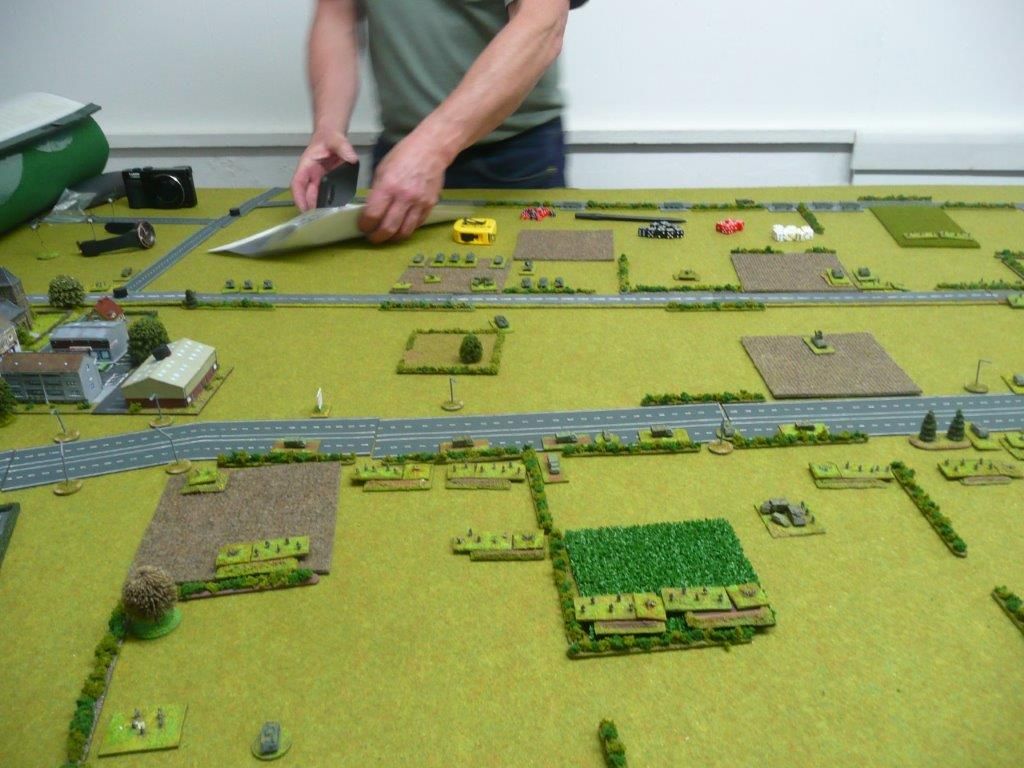
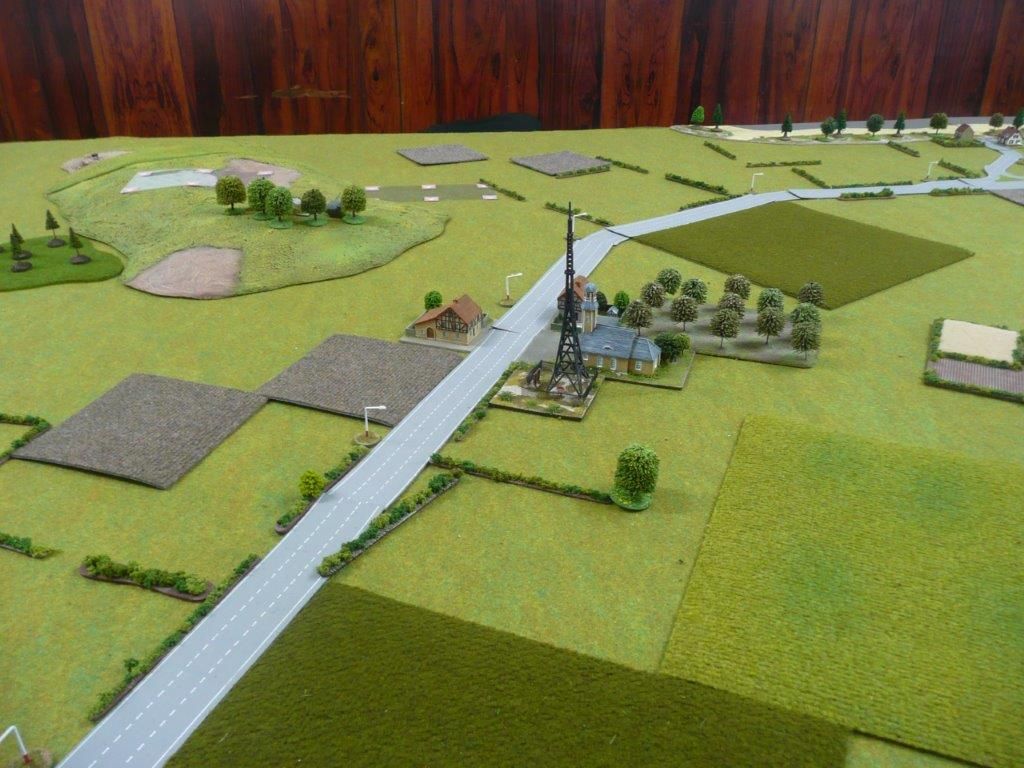
A single Ansar unit under Ali wad Helu loiters near one of the northern objectives
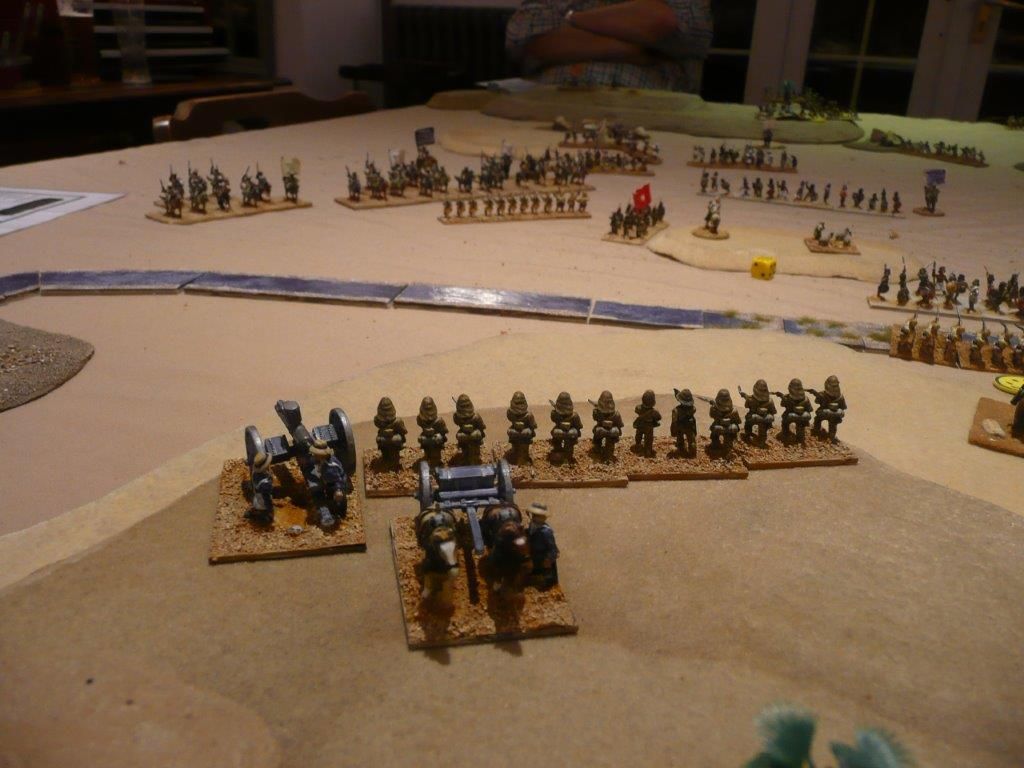
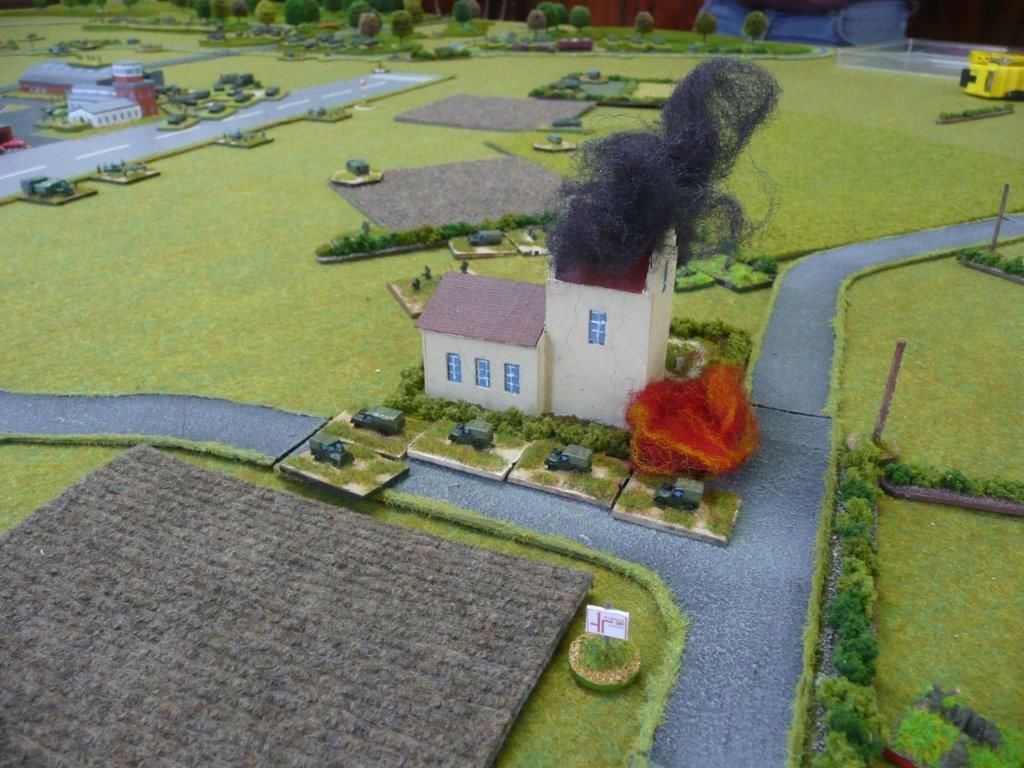
The Anglo-Egyptian force waits for a plan 
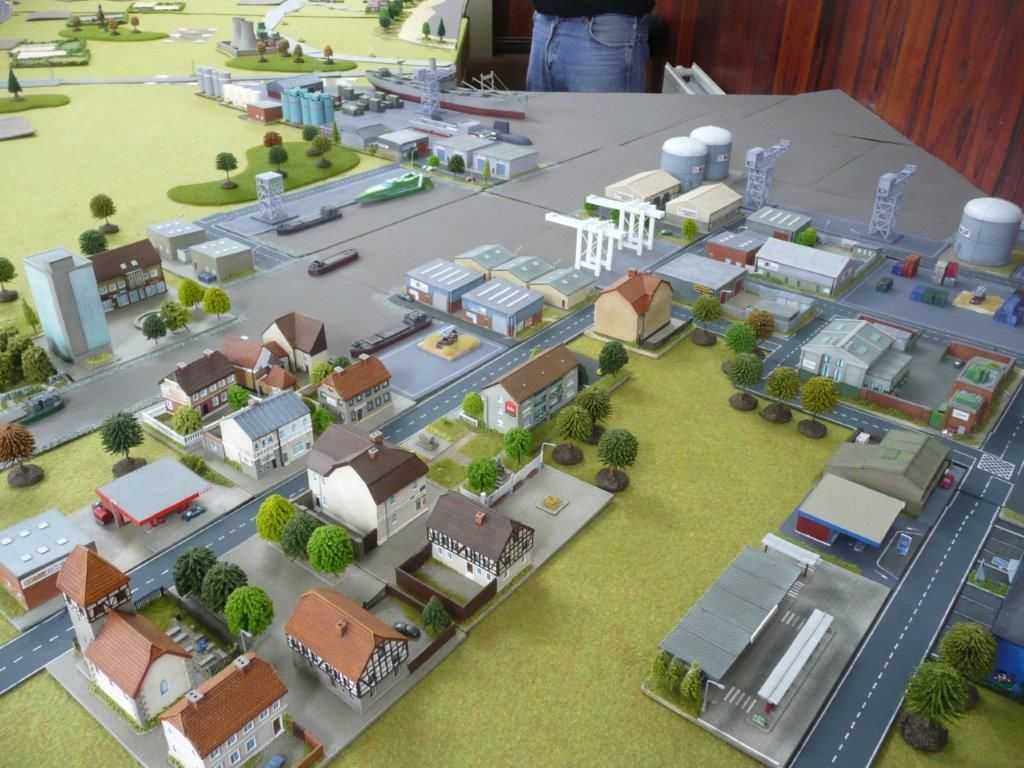
One of the 2 gunboats patrolling the Nile - this one is by Peter Pig - lovely
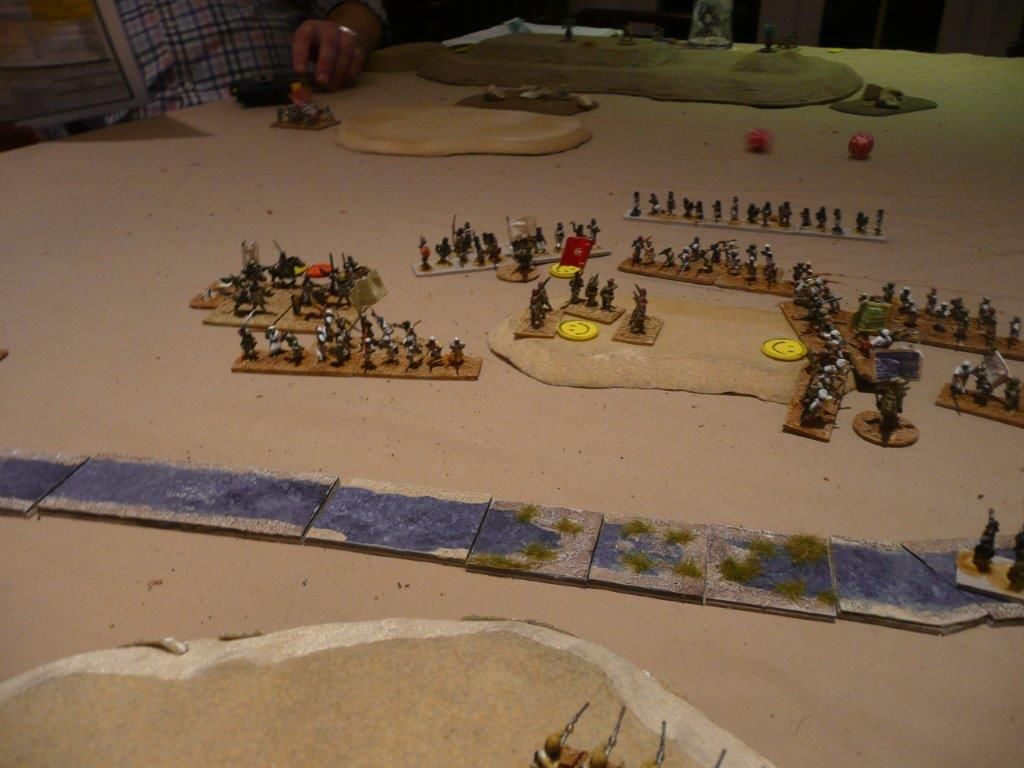
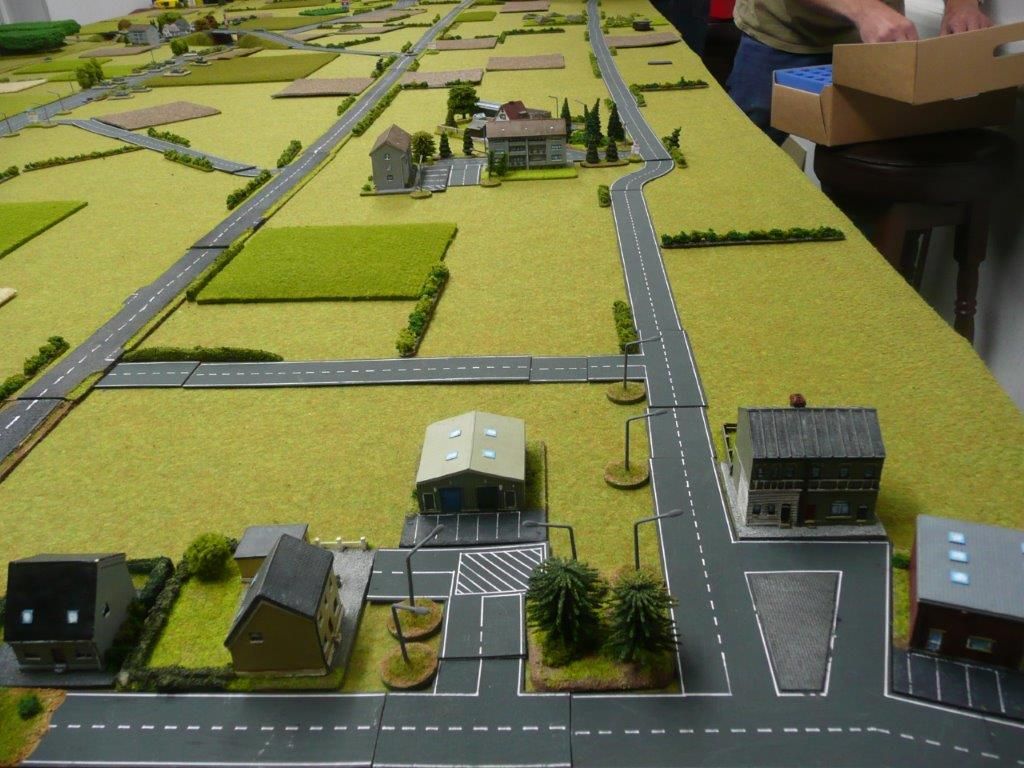
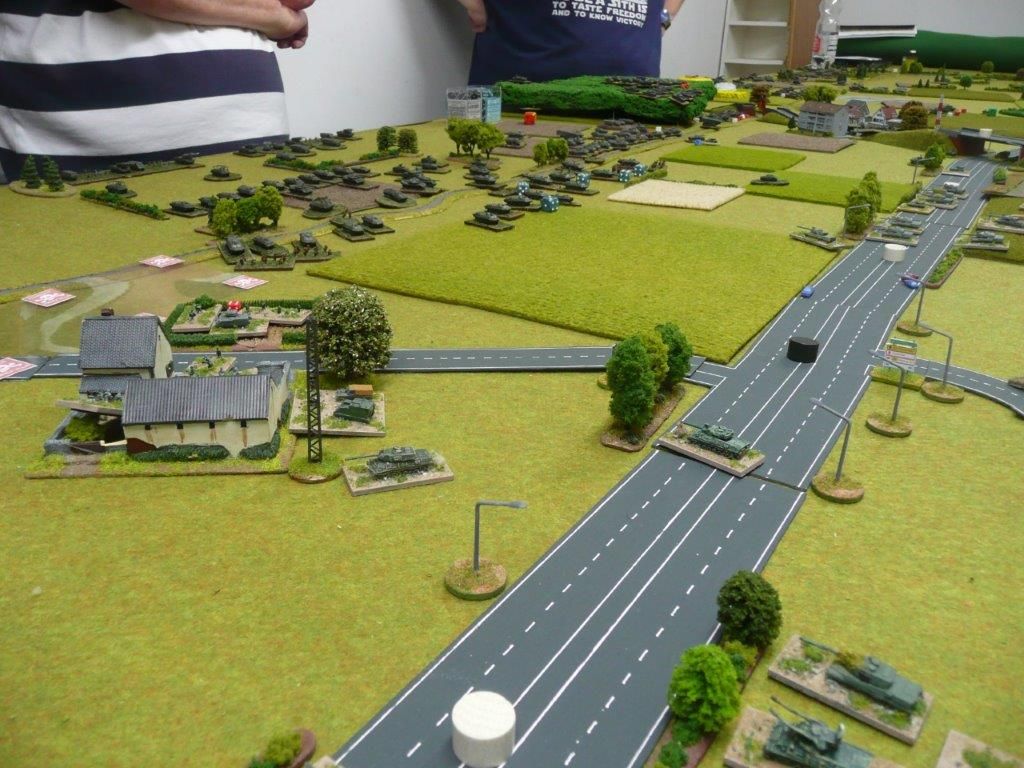
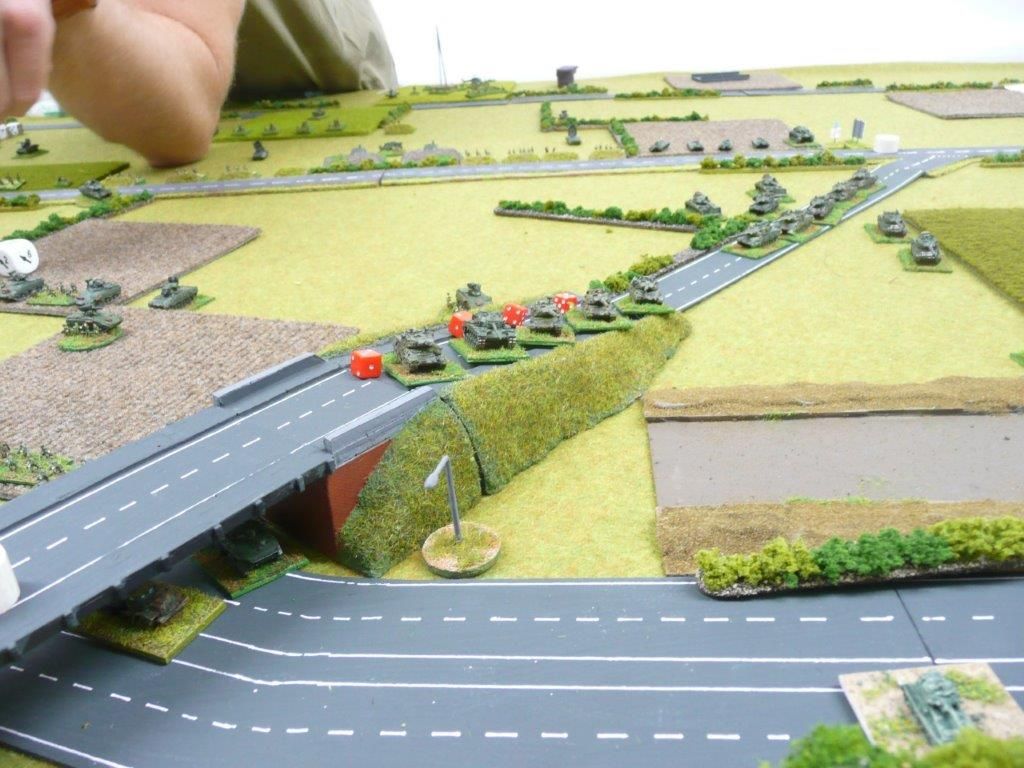
While the Mahdists seize their two objectives the Anglo-Egyptians finally decide to advance
The Anglo-Egyptians continue their advance
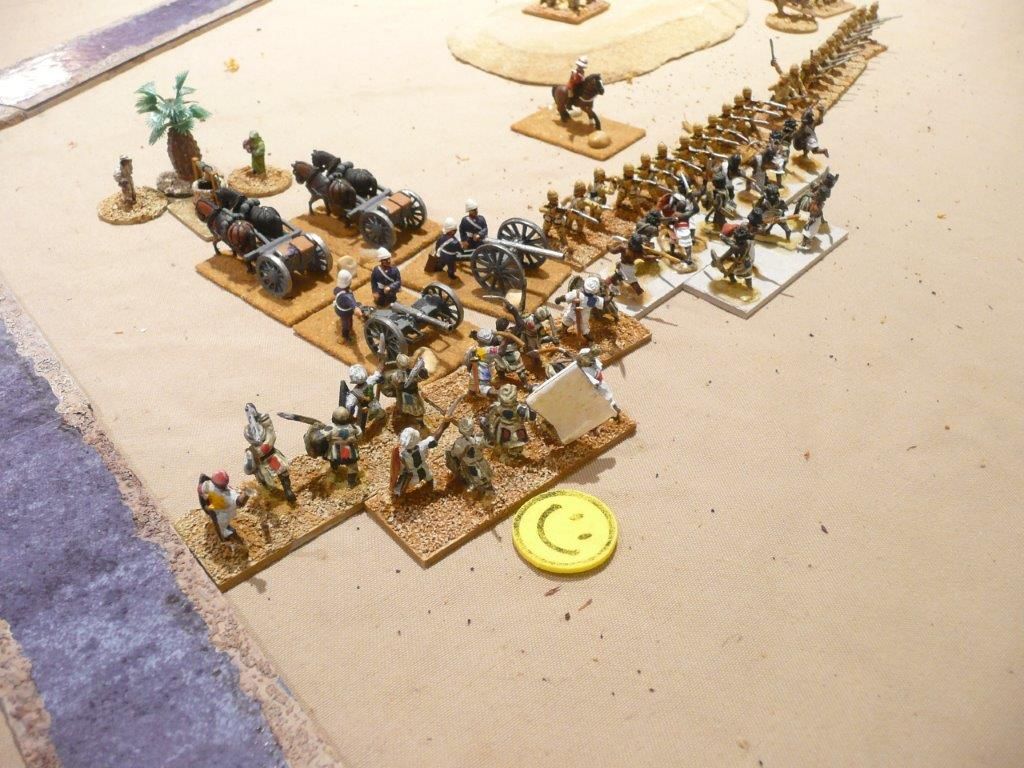
The Anglo-Egyptian centre
The Egyptian Camel Corps and cavalry stand idly by on the northern flank
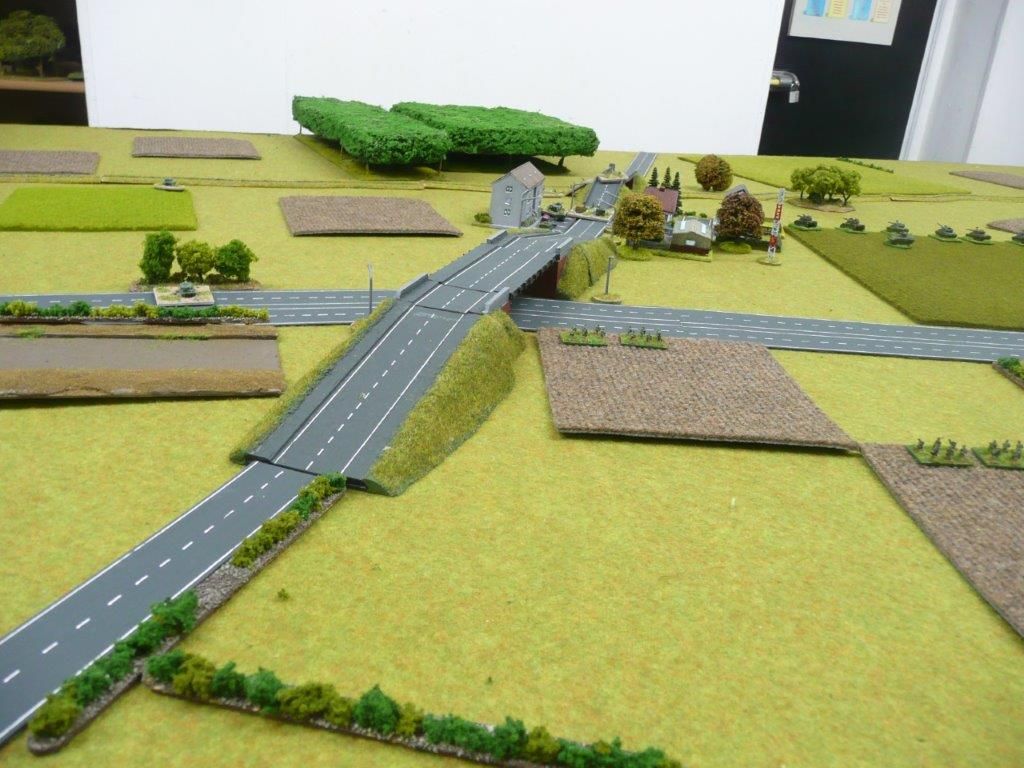
To the south the British engage the Mahdists and go low on ammo
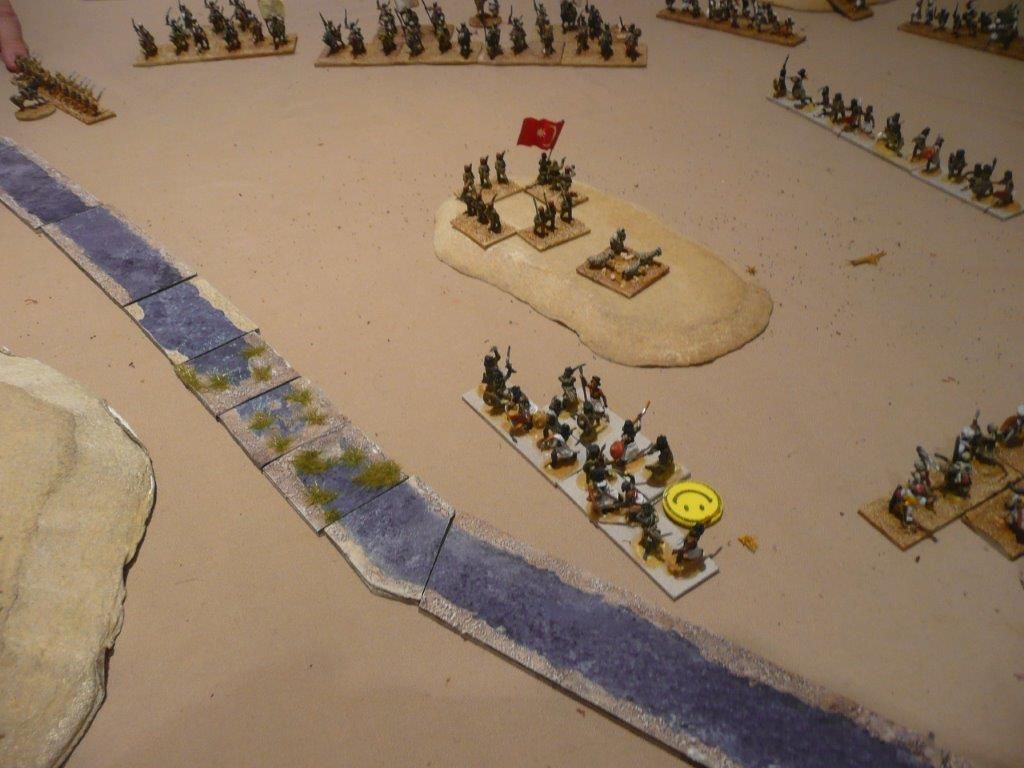
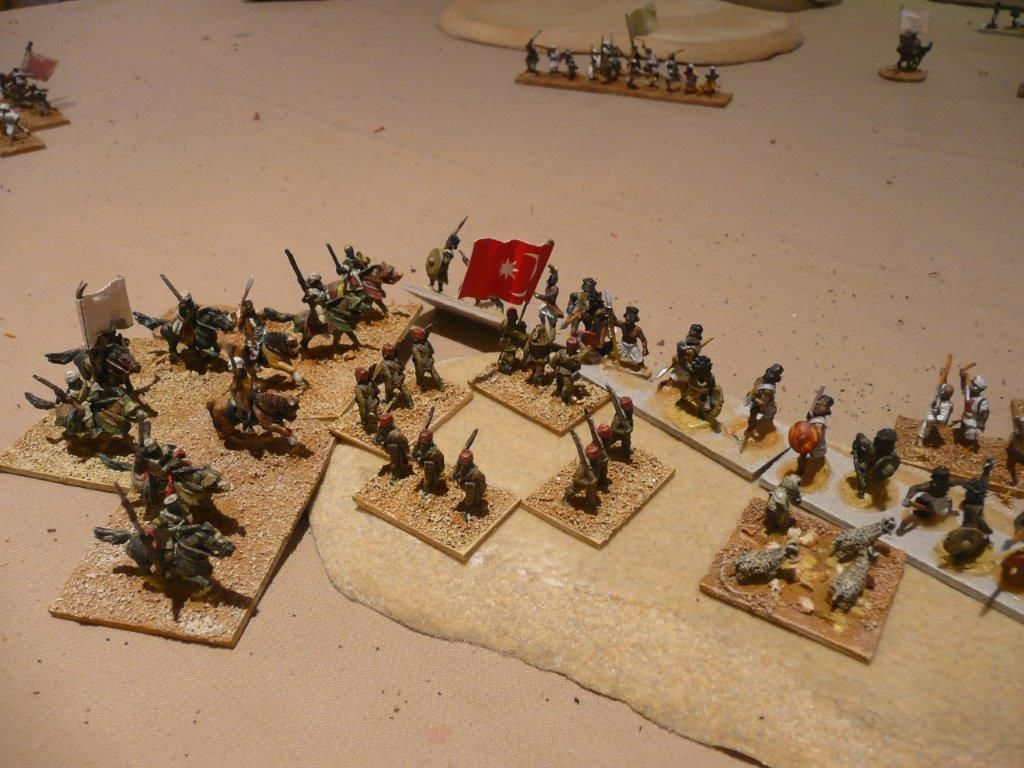
In the centre the Egyptian line cracks as a Mahdist force storms through the line
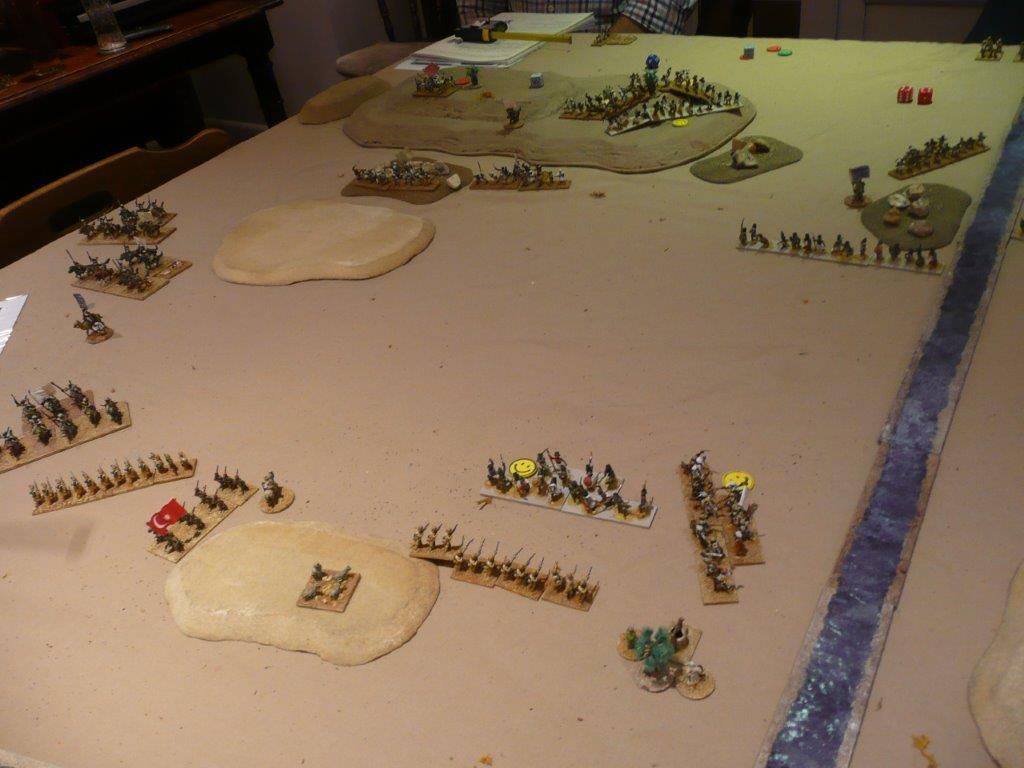
A general view of the battlefield from the south - not looking good for the Anglo-Egyptians
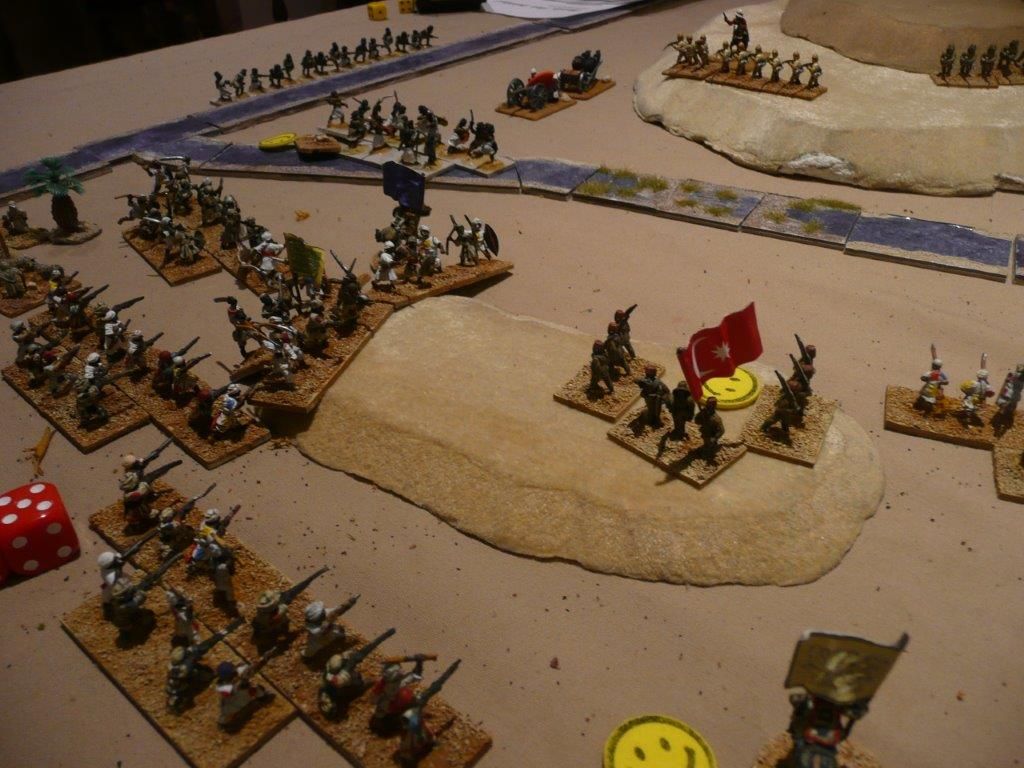
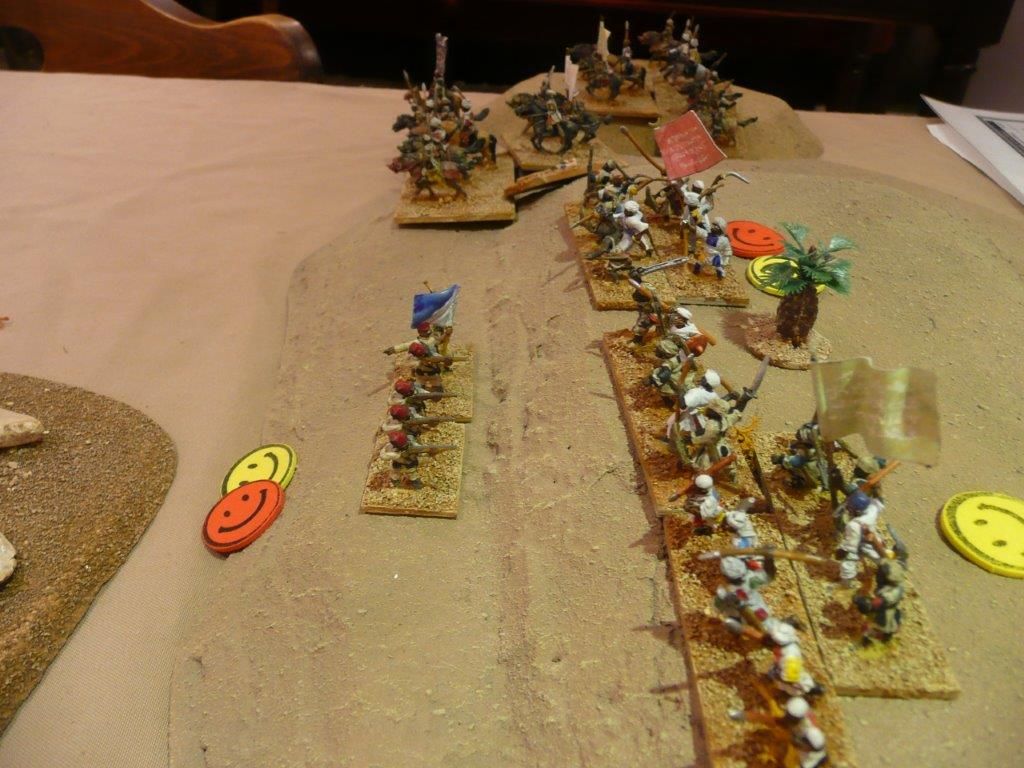
The Mahdists being to overwhelm the British on the southern flank
The final positions with the Anglo-Egyptians falling back on their original positions with no hope of even getting a draw!

Therefore an overwhelming, "questions in the House", major victory to the Mahdists. 

The Anglo-Egyptians were sadly lacking in aggression - not even bothering to take unprotected objectives with their cavalry.  However they were under the impression that there was an Ansar unit waiting in ambush, their firing was relatively ineffective and usually being down in melee factors did not help.

The melee factors usually favour the native troops quite drastically. Typically there are 6 Native bases vs 4 European bases so that's 3:2 Numerical  advantage (+1), the Natives are Aggressive (+1) and usually in Depth (+1) so that's a +3 advantage in combat. There is no point in the Europeans being in depth as they need the firepower to either stop or disrupt the natives.

We were using the colonial variant which allows native infantry to move at 15" and only halts units when they lose a base from firing. Both have a major impact on the game as the native troops can zoom around the board and are hard to stop when charging.

We did however enjoy the game and feel that BBB works very well for Colonials. The scenario is excellent as forces the Anglo-Egyptians to come out and fight. In my opinion it has the feel of a mini-campaign rather than a single battle as the Anglo-Egyptians have to send forces off in all directions to capture the objectives. 

I'm looking forward to playing this one again.

Thanks to Rob Smith & Dave Bennett for putting the scenario together

Thanks to Steve for putting on the game with his collection of 15mm troops. He is in the process of re-basing some of the Mahdist troops as they are all on double size bases.

Steve and Shaun played the Anglo-Egyptians and Rodge, Stewart & myself gloried in being the Ansar.


Saturday 21 October 2017

Dabormida's Brigade at Adowa using Bloody Big Battles

One of our favourite Colonial games is a scenario from Mark Fastoso's Ethiopian Colonial Campaigns  - Dabormida's Brigade (Adowa).
This covers the Abyssinian attack on the Italian right flank at the battle of Adwa (or Adowa) on 1st March 1896. It boils down to a scattered Italian force attempting to stop a very large Abyssian army from tearing down the table trying to capture objectives by a certain turn.

Important Note
None of us have any Italians or Abyssinians for this period. However  Steve has a lovely 15mm collection for the Sudan so we proxy the figures. So do not be surprised if you should see kilted Italians. If you do not like proxies then pretend it's the Sudan

Although the scenario is written for The Sword and Flame we have used it with Battles For Empire. This proved to be a struggle for the Abyssinian who rarely got half down the table before we had to call it a day.

This time round we used Bloody Big Battles (BBB). We had tried the BBB scenario El Teb but had mixed feelings about it. It was fast but I think the scenario needs looking at.

Abyssinian Forces
3 Commanders
5 x Waruari 6 Trained, Spears,Aggressive
2 x Byet Lyjog 6 Veteran, Spears,Aggressive
2 x Neftenya 6 Trained, Muzzle-loading Rifles,Aggressive
2 x Snyder-yaji 6 Trained, Early Breechloaders,Aggressive
3 x Oromo Horse 6 Trained Cavalry,Aggressive
2 x Artillery pieces 1 Smoothbore Artillery

Italian Forces
2 Commanders
3 x Italian Infantry Companies 4 Trained, Late Breeechloaders
4 x Askari Infantry Companies 4 Trained, Late Breeechloaders
2 x Artillery Batteries 1 Breech Loading Artillery
1 x Machine Gun Battery 1 Machine Gun

The Battlefield looking east

The Objectives
Victory Points (VP) are awarded to the Abyssinians on the turn they capture an objective

The Abyssinians need 3 VP to win

The Spur: Turns 1-3 2 VP otherwise 1 VP
The Well: Turns 1-6 2 VP otherwise 1 VP
The Pass: Any Turn 1 VP

The start of the battle
The Setup

Abyssinians set up along the western edge

2 Askari companies are on the Spur
1 Askari company is behind the Spur
1 Askari company is on the hill across the stream
2 Italian companies and the 2 Artillery pieces are at the Well
1 Italian company and the Machine Gun are at the Pass

The game lasts 8 turns with the Abyssinians going first.

The Spur defended by 2 Askari companies
The Abyssinians immediately attack the Spur
An Askari square - disrupted (Yellow) and low on ammo (Green)
The other Askari square about to get overrun
The Abyssinians break both squares and capture the Spur on Turn 2 - 2 VPs
The Italians defend the Well

The Italians should have destroyed the Spearmen. Let's do the Firepoints
1 BLA at 3" = 9 FP and 1 BLA at 3" but it pivoted so 4.5 FP equals 13.5 FP rounded up to 16 FP
So 6 or more on 2 dice to kill at least 1 base and push the Spearmen back
And it's a ... 5 which disorders the Spears but under the BBB Colonial variant doesn't halt them

The ensuing melee saw both guns lose a life - they only have 2 - and retire 9". The Infantry company next to them fared no better and was forced to retire. 

The Well is lost on turn 4 - giving the Abyssinians 2 more VP - making a total of 4 VP

The Machine gun gets into position to defend the pass. The the distance an Askari company is both to get pounced on by some Oromo Horse.
A general view of the battlefield halfway through the game - looks like an historical outcome to me
On the left an Italian company covers the retreat of the last surviving Askari company from the Spur.
Yes I know the Italians are wearing kilts - it's all the rage on the Milan catwalks.
The view from the Pass - probably the safest place to be.
The kilted Italians continue to head south leaving the Askari to form a square against the hordes.
Unsurprisingly the square becomes the centre of attention - it looks baaad.
The brave Askari square repulses the attack losing a base in the process. To be classed as Square it must have a minimum of 3 bases. 
End of Turn 6 and as the Abyssinians close in for the kill the Italians concede the game.

I would like to say it was a close run thing but it wasn't - it was a shambles for the Italians mainly due to appalling shooting dice. It was also a historical result so I can not complain.

Thanks to Steve for putting on the game. He and Mark played the Abyssinians whilst Stephan and I played the Italians.

We are giving it an other run out next week - mainly to see if I can roll higher than 5

There are several more scenarios in the book which look as though they will convert to BBB. I can highly recommend these scenario books covering Ethiopia, the Sudan, Mexico and China. 

BBB comes up trumps again and works well for the Colonial period as it does for most periods


Wednesday 27 September 2017

CWC Landjut - Aarhus

LANDJUT 2017 is a campaign set in 1989 covering the Soviet invasion of Denmark. The games are fought out in 6mm using Cold War Commander from Pendraken. In September 2017 we played out the battle of Aarhus over two days at the Grimsby Wargames Club.
Colonel Poirot, the Belgian commander, surveys the Highway 15 battlefield

There were two battlefields - Aarhus and Highway 15 (H15). The highway is the supply route between Aarhus and the main Nato base at Herning, some 60km to the west.
Highway 15 looking west.The Aarhus table connects via the road going off the bottom of the picture.

The Nato objective on H15 was to keep the Soviets from cutting the supply route. Andy T and Danny commanded West German brigades in the centre and the western flank. The eastern flank leading to Aarhus was held by the Belgian 17ème Brigade Blindée under yours truly.

The western end of Highway 15 - Lasby is in the distance
Close-up of Lasby
West German troops cover the western flank of H15
West German Leopards dig in while Belgian Engineers prepare to blow the bridge at Storring
The Belgian 2e Regt Gidsen takes up position next to the West Germans
1ste Regt Karabiniers Wielrijders occupy Lillering. Note the marked minefields to their front
Lillering looking east. Behind the village the Leopards of 1er Regt des Guides provide support. Whilst  on the  right 2eme Regt Carabinier-cyclistes dig in in the wood again covered by minefields
The outskirts of Aarhus
Looking south towards Storring
2eme Regt Carabinier-cyclistes deployed in Lillering wood
The Guides provided much needed fire power throughout the battle
A West German tank battalion moves to cover Storring
East Germans advance to engage the Carabinier-cyclistes
East Germans advance between Lillering and Storring supported by Polish troops on their left flank. 
Col Poirot makes some interesting observations
Mark J's East Germans advance on the wood
Andy M's East Germans drive on towards H15
Simon W's Polish legions target Storring
Andy T's West Germans cover the flyover but become a prime target for the Poles
The Poles extend their line to attack Danny's West Germans
The West Germans await the Polish attack
The East Germans preparing to cross the minefields
A supply truck, by the white marker, drives done H15 protected by West German & Belgian tanks 
East Germans pile on the pressure against the Belgian cyclistes
The East Germans come close to taking H15

At close of play

East Germans about to cross the minefield and enter the wood
East Germans almost made it to H15
Storring falls to the Poles but a West German counter-attack is building

A gripping battle that needed some thought on both sides. The stream, the wood and the minefields were life-savers for the Belgians as they presented quite an obstacle to the East Germans.

As the highway was still in Nato hands then a victory to them. My thanks to Mark,Andy M & Andy T, Simon and Danny for a good weekend's gaming 

Meanwhile the other table covered the town of Aarhus and it's environs.

Aarhus and the docks - a Soviet objective
Looking south towards Aarhus
The radio station - a Soviet objective
A close-up of the radio station
The battlefield looking west 
Aarhus Airfield - a Soviet objective
Aarhus Airfield
Aarhus beach - lovely at this time of year
The power plant  - another soviet objective
Aarhus docks - can you spot Dr Evil's power boat?
Most of the fighting centred on the airfield.
The church took a battering
Nato helicopters head for the airfield

I didn't get to see much of this game as it was in a different room but I believe the honours went to Nato although the airport is apparently quite a mess.

An excellent weekend of CWC hosted by the Grimsby Wargames club at their very own premises. I'm really envious of those guys having a place like that. They organised food and drink including a lovely piece of haddock but then again it is Grimsby.

A big thanks to Richard P for organising the campaign and the weekend and building a lot of the terrain. The terrain makes these games as the photos show

Thanks to all the lads who turned up from far and wide and made the weekend what it was.

And finally a big middle finger to the idiot who trespassed on the railway line that delayed 2 of our 4 trains on the way back from Grimsby to Stroud

Roll on the next CWC weekend.